Make space party cookies for a kids space party. 7 Cute cookie designs for moon, astronauts, NASA, space rockets and US flag with a cookie decorating planner. This post was originally commissioned to promote the Capture the Flag movie in 2016.
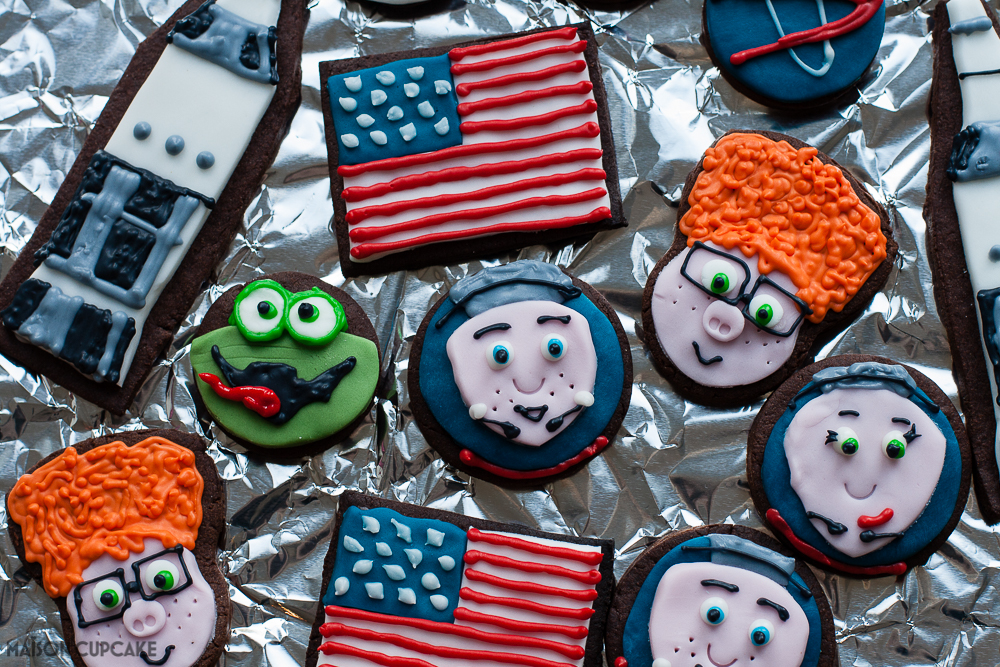
There’s a super cute movie out about some kids who end up in space on a rocket going back to visit the moon.
Ted and I saw the Capture the Flag movie trailer before Christmas and we’re definitely going to go back and watch it. So I was very excited when Paramount asked me to bake something celebrating the launch of the film.
Having only watched the trailer (many times whilst designing these cookies) I am not 100% what happens so there are no spoilers here. Mike is a young boy whose dad is an astronaut for NASA and so was his grandad. Back in the day, the grandad missed out on his moon mission at the last minute and since grew apart from the Mike’s dad. Then NASA launch a new mission to back to the moon and want the original astronauts to go too.
It becomes an opportunity for Mike to get his dad and grandad back together and somehow Mike ends up in space as well. With his “she’s not my girlfriend” Amy. And they have a geeky friend called Marty with huge ginger hair and glasses and a pet lizard called Igor.
I don’t know what the flag bit refers to, I’m not sure why they’re going back to the moon yet – presumably a new moon mission isn’t purely to replace the flag but all will be revealed when I take Ted to see the film!
Space Party Cookies (Capture the Flag)
I know I can get a bit carried away with cookie designs and the less sugarcrafty of you get slightly freaked out by how complicated this looks.
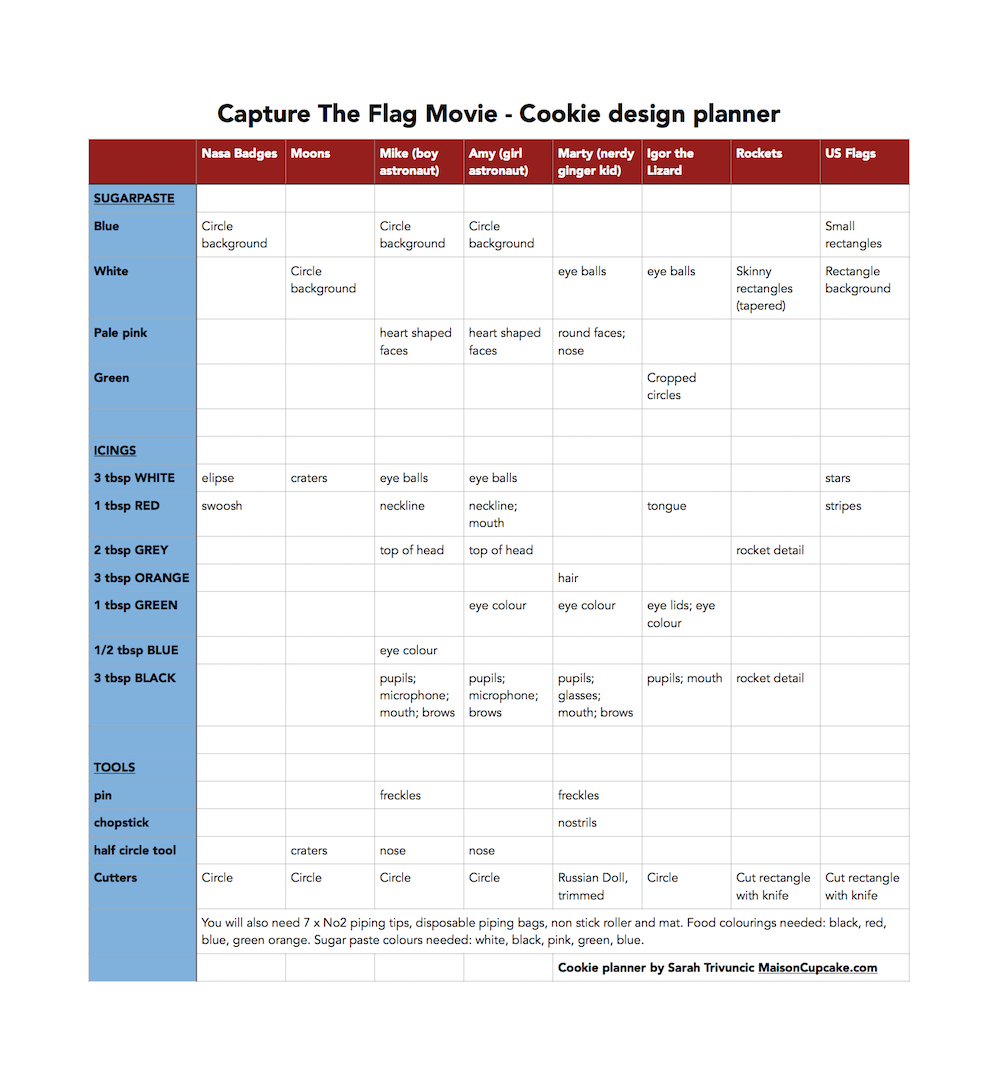
But I’ve come up with a good mix of easy to trickier designs so you can mix and match which ones you like. And today I’ve included a nifty cookie planner for you to see at a glance which icings and sugar paste colours/shapes are used where.
You could also use this US flag cookie design for American themed parties.
About the cookie recipe
The cookies were baked from my chocolate cookie dough recipe using two sizes of circle cutters, an upside down Russian doll cutter and then an ordinary knife to cut rectangles. A batch of the dough should make around 32 of these cookies depending which designs you opt for. Above I have actually used a half batch of dough to make around 16 cookies.
About the icing
The designs are mostly sugar paste shapes overlaid with piped royal icing; this is an easier technique for beginners than flood icing and means less waiting around for big pools of wet icing to dry.
For the royal icing I have used instant royal icing rather than icing sugar with egg white. But you can do the latter if you prefer. I found that 250g of instant royal icing was enough to ice all of these cookies but if you are less confident of gauging amounts / want to ice lots more cookies in very near future then make more than this i.e. use whole 500g box!
I use white icing to “glue” down pieces.
You will inevitably end up with more icing than you need but you need at least 1 heaped tablespoon in a bag to work with. (Unless you make your own teeny weeny paper icing bags then you can work miracles with half teaspoons’ worth of icings in as many colours as you like). But we won’t go there today.
We are going to the moon!
Here are the designs in detail…
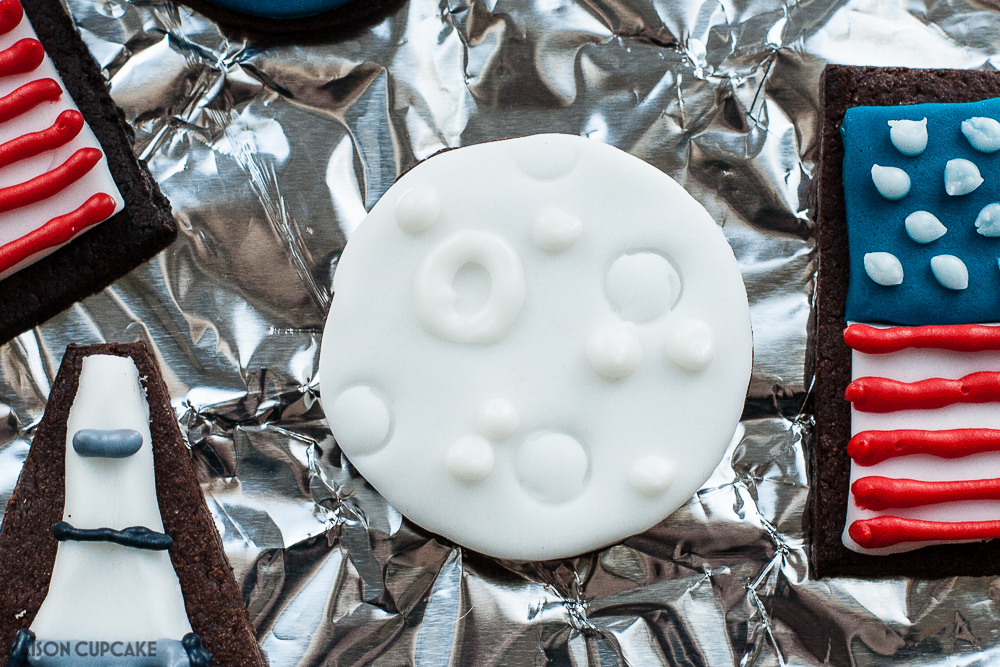
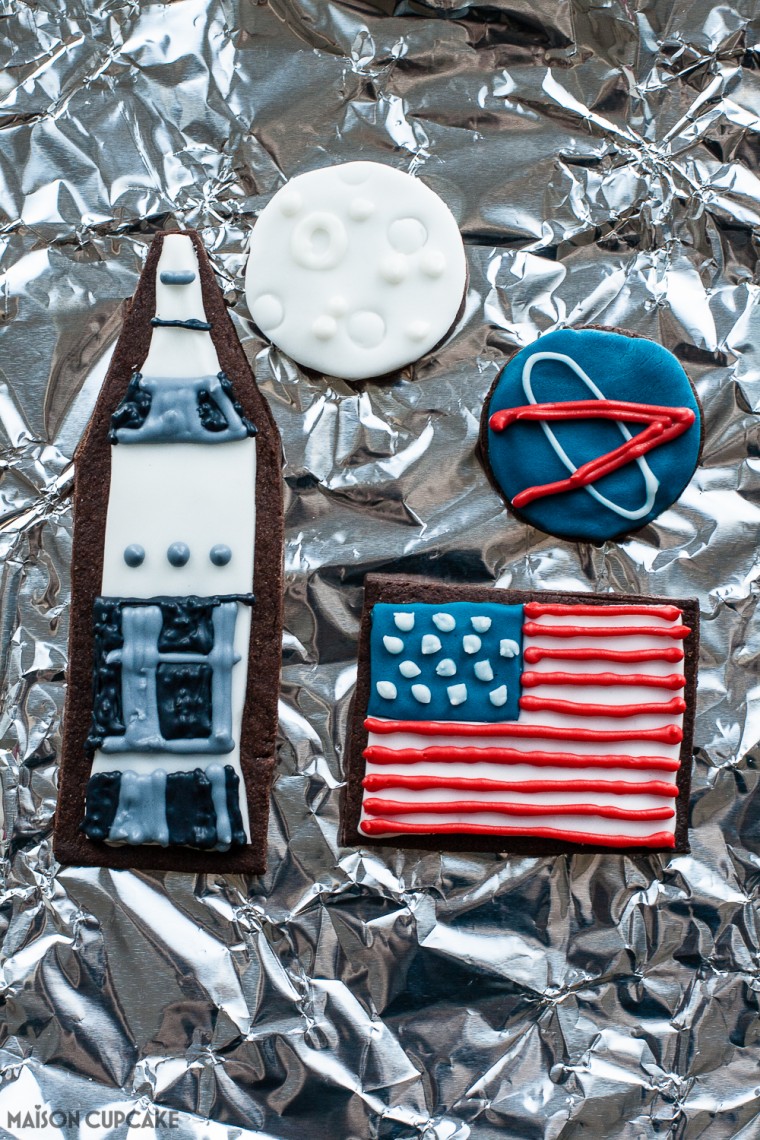
The moon is the easiest design – simply white sugar paste circle with circles indented and piped circles/blobs as craters.
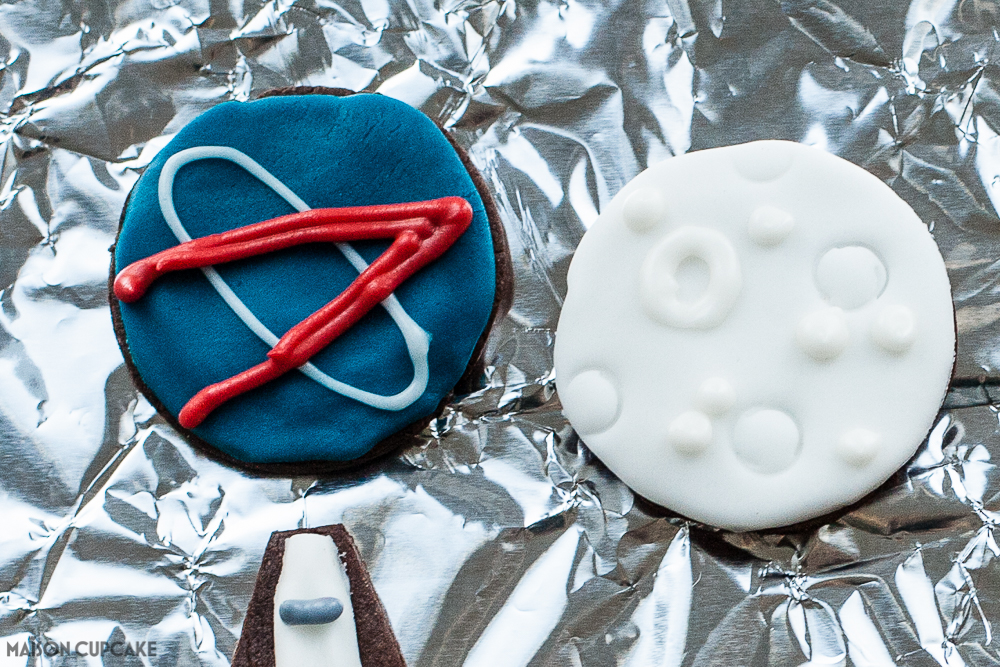
For the NASA badges, pipe white ellipses on blue sugar paste. When these are dry add a red swoosh. Technically it should also say “NASA” in white capital letters but I decided to use artistic license (and was worried it might look messy).
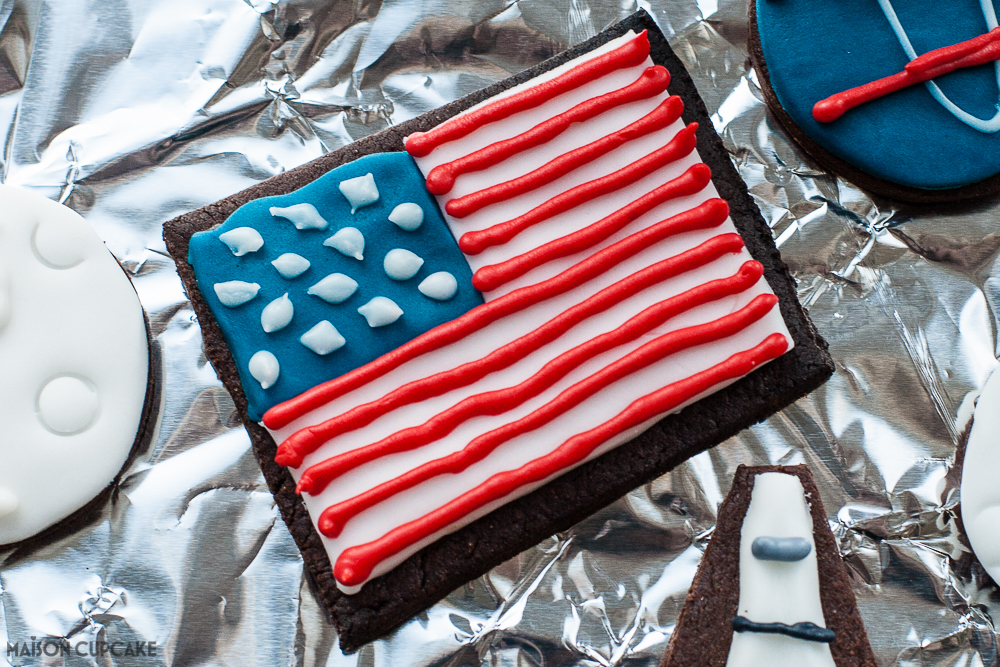
For the US flag cut out white rectangles and trim a chunk from top left corner. Fill the gap with a small blue rectangle. Then pipe white stars and red stripes. Obviously you might equally use a red base but white icing on red would probably look less bold.
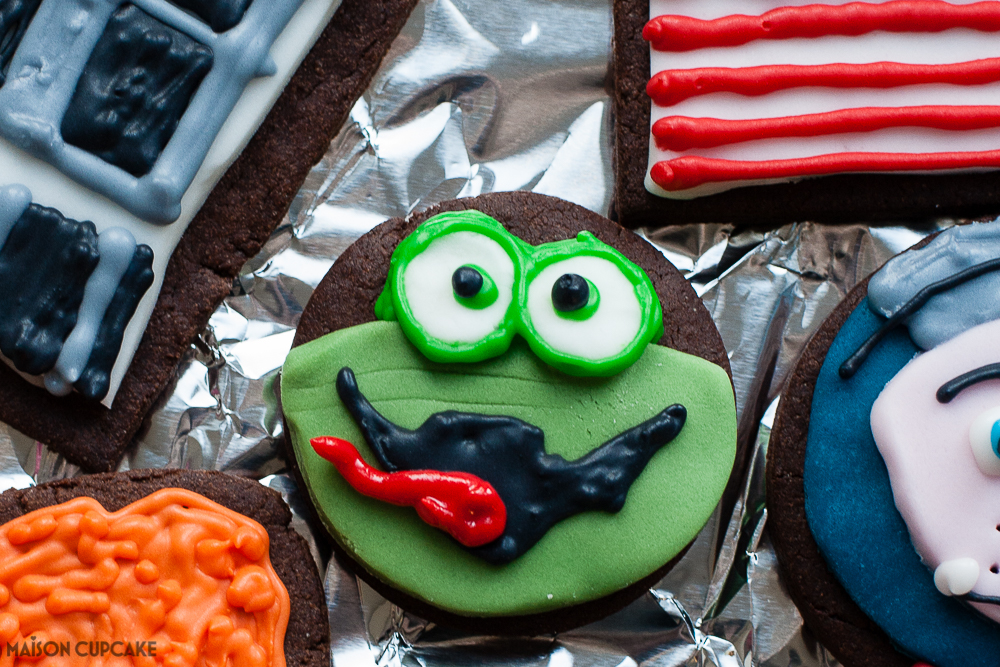
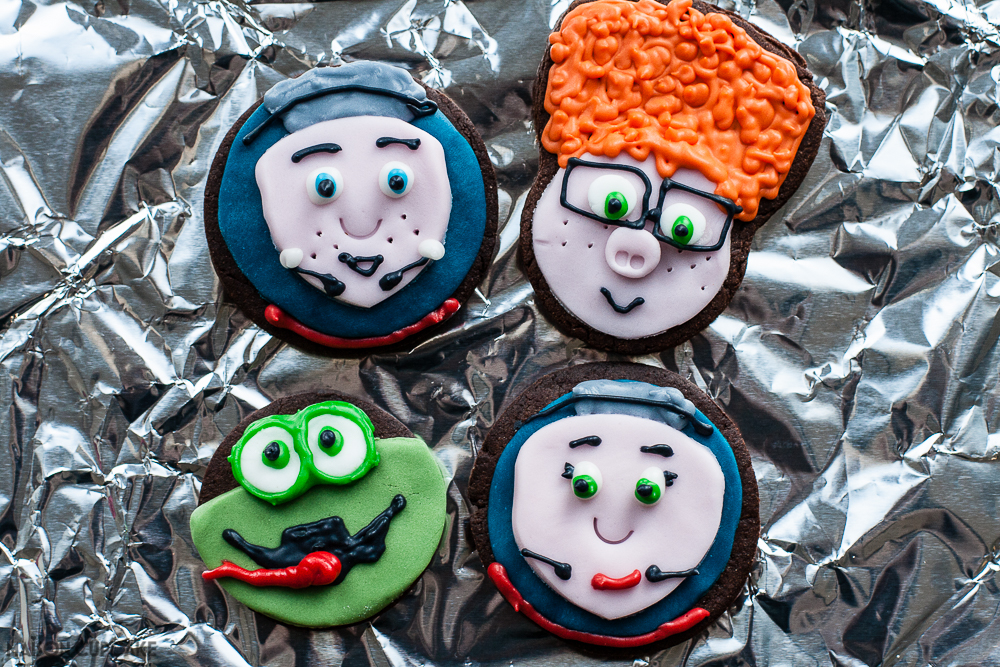
Our first character is Igor. He is a green sugar paste circle with a segment trimmed away. His eyes are big blobs of white sugar paste which are then surrounded by piped green icing.
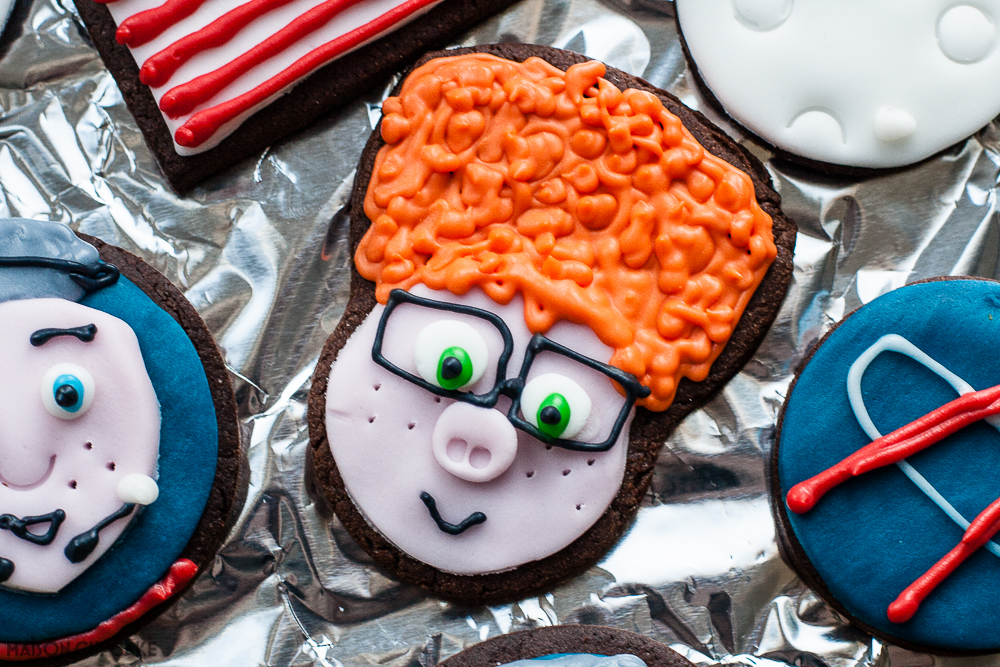
Marty’s face is pale pink sugarpaste (50/50 mix pastel pink and white). Use a pin for the freckles and a chopstick tip for his nostrils. (Marty has a bit of a piggy nose…). The orange hair is piped free form in swirls which I let dry then filled in the gaps.
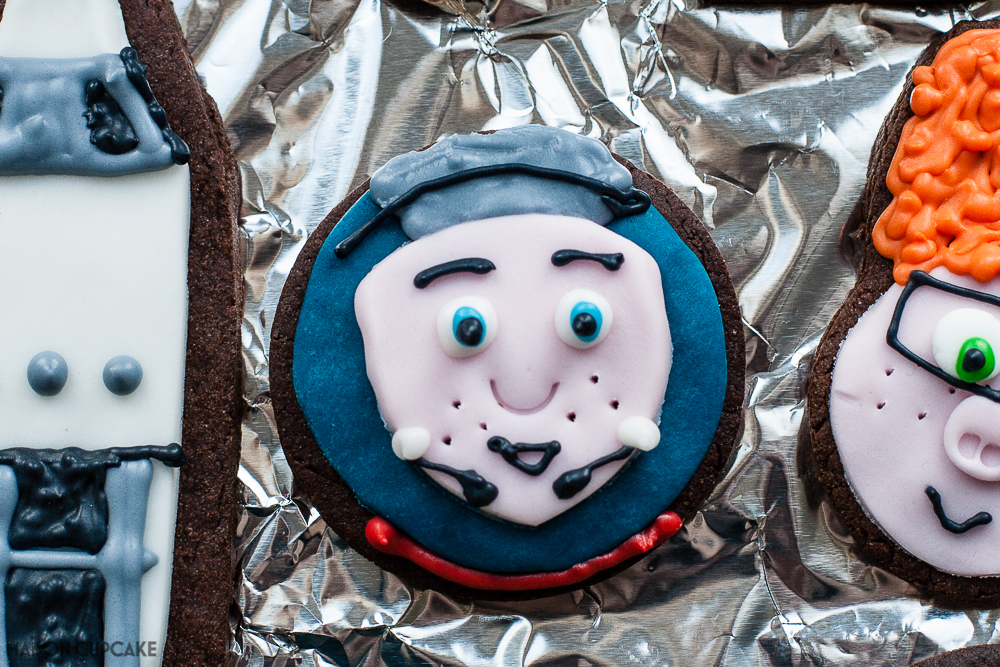
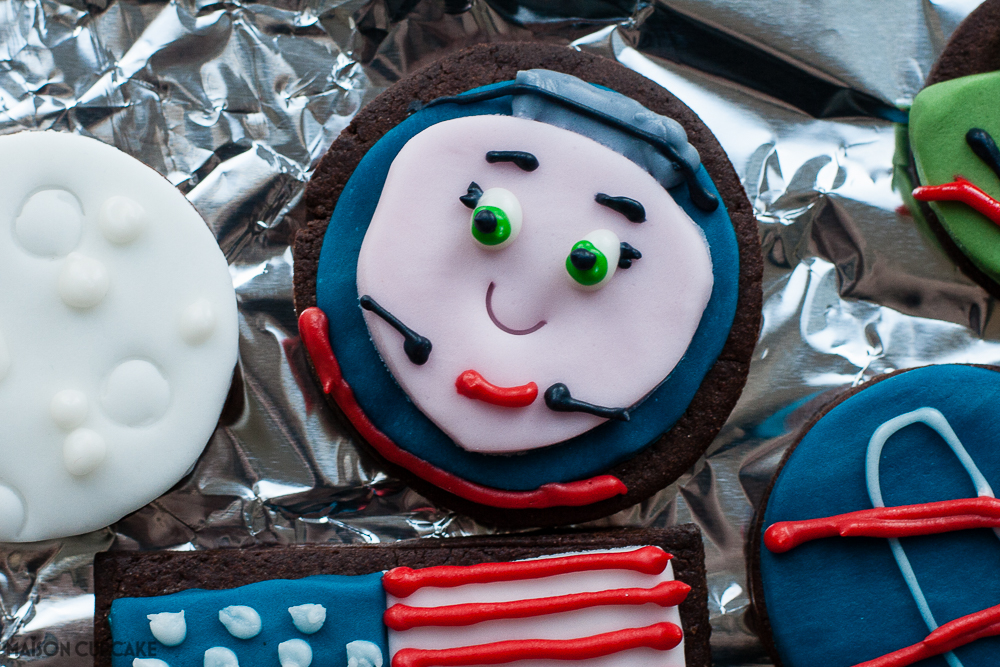
Mike and Amy in their astronaut outfits are very similar. The main difference is Mike unlike Amy, Igor and Marty, has blue eyes rather than green. I also gave Amy eyelashes and red lips (technically they ought to be pink but keeping the colour palette narrow makes your cookies more co-ordinated!). Mike has thicker eyebrows. The squiggles around their chins are their astronaut microphones. (I presume this is what they were, they are wearing them in the trailer).
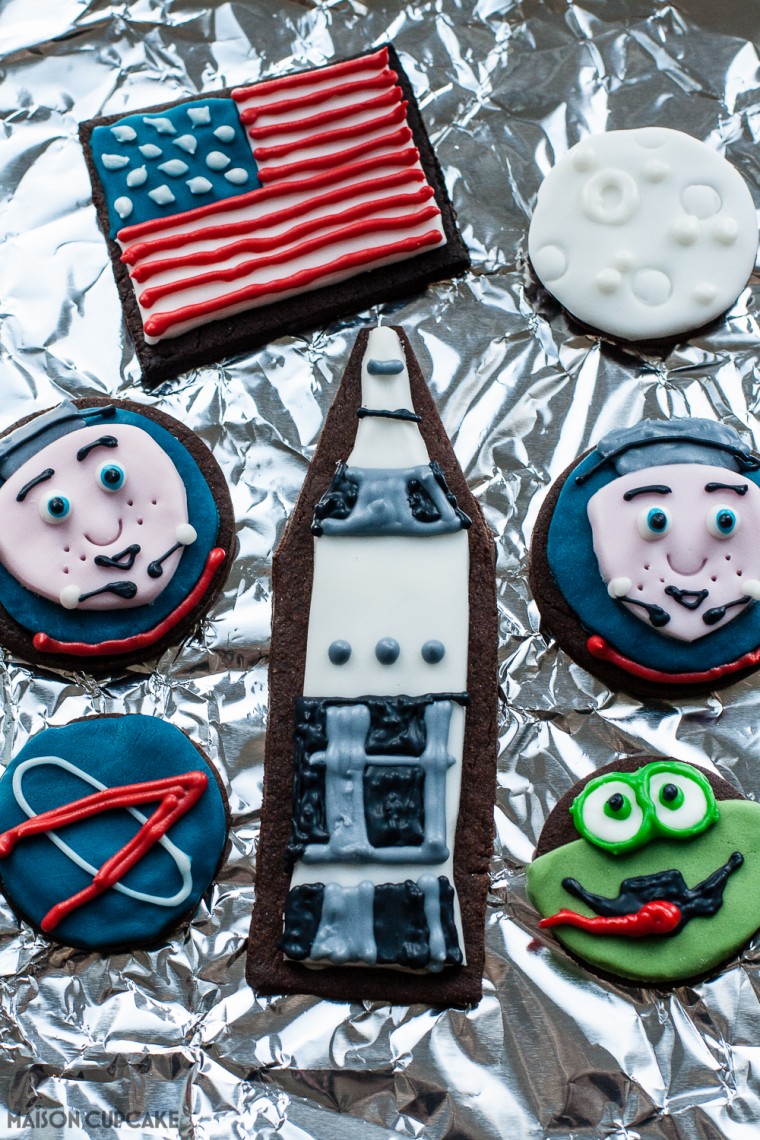
The rocket is a white sugar paste rectangle that has been tapered. Fill in the grey areas with icing first then when dry add the black areas.
Here is a cookie planner checklist to help you get organised if you take on this project!
Space Party Cookies Decorating Planner (Capture the Flag)
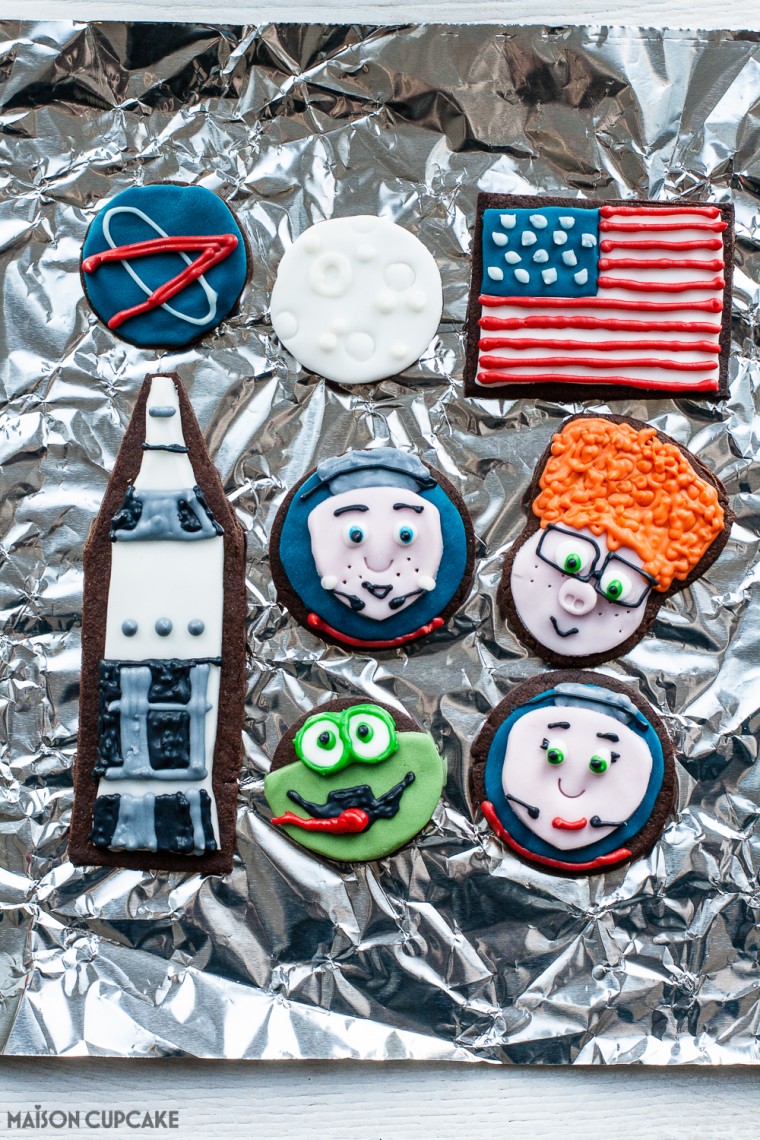
And here you have the complete collection! I hope you had fun seeing these and have fun seeing the film.
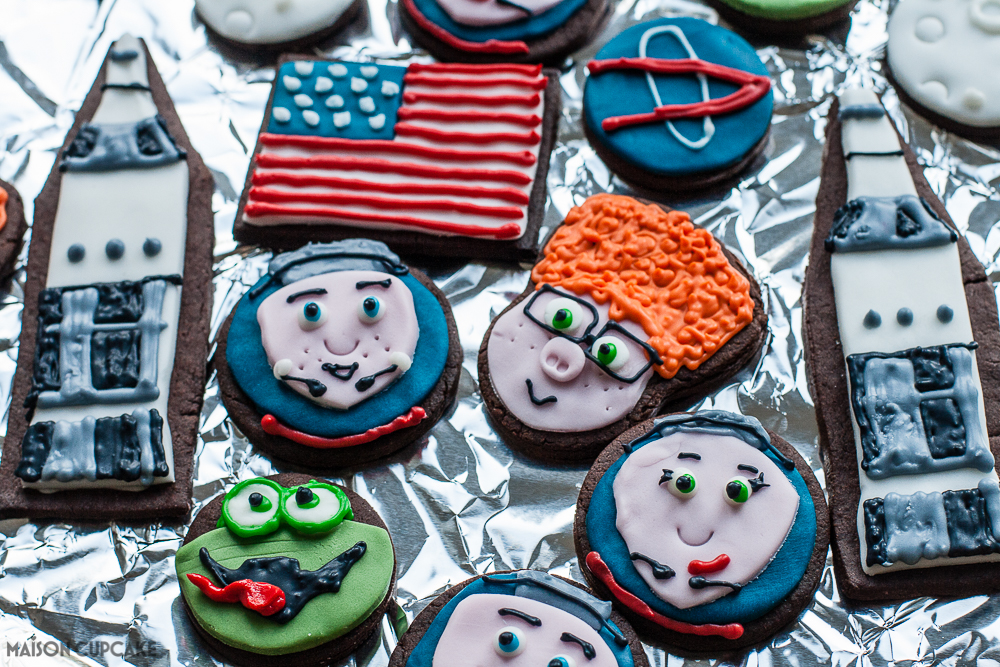
Space party cookies post commissioned by Paramount for Capture the Flag movie release.



These look amazing Sarah. I love them. The space theme is huge with the kids at the moment after Interstellar, The Little Prince, Star Wars and now that. My son even has stars on the ceiling and he and his sister will love these, for sure 🙂
Lovely cookies. It’s a while since you did a project lik this. Love them.
I just saw the preview of this movie today, looks like a good one. Those cookies are fabulous, I am very impressed!